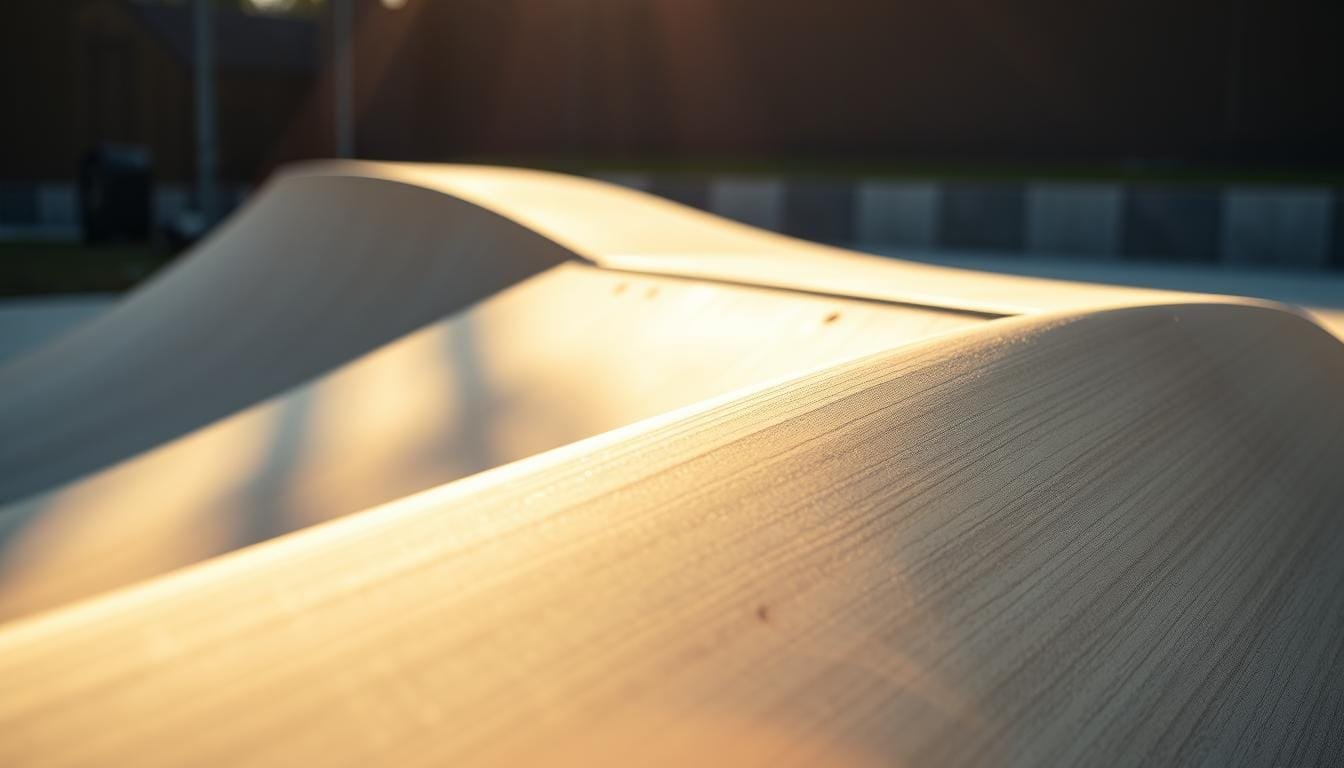
Finding the ideal skateboard ramp angle is key to better performance and smoother rides. The best angle for you depends on your experience and the tricks you want to do. Whether you are a newbie with your first ramp or a pro seeking to improve, knowing about ramp angles is vital.
Every part of the ramp, from the toe plate to the launch angle, matters for top skating. Custom ramps are better than pre-made ones because they fit your needs exactly. As you set up your ramp, you’ll see how important choices about materials and structure are.
Did you know ramp angles usually fall between 30 and 45 degrees? This varies with a skater’s skill level. Beginners often choose mini ramps under 5 feet, while pros might pick vert ramps over 7 feet for tougher tricks. This knowledge helps adjust your ramp to match your skill, boosting your skating.
Before getting a ramp, consider how different angles affect your riding. Follow these tips to set up your skateboarding ramp right. To learn more about ramp design and its history, check out Peter Verdone’s blog.
Key Takeaways
- Finding the optimal skateboard ramp angle is essential for performance and safety.
- Ramp angles typically range from 30 to 45 degrees depending on skill level.
- Beginner ramps are usually under 5 feet, while advanced ramps can exceed 7 feet.
- Custom-built ramps are often superior due to their tailored design and material quality.
- The choice of materials significantly affects the ramp’s longevity and performance.
Understanding Skateboard Ramp Angles
Understanding ramp angles can really step up your skateboarding game. It’s all about how the angle of the ramp can affect how well you do and stay safe. The materials and how the ramp is built are key, so let’s get into the basics of skate ramps.
One key part of skate ramp design is making sure it drains water well, with a slope of 1-2%. This helps your ramp last longer. For wooden ramps, people usually use 2×4’s and plywood that’s either 3/4″ or 1/2″ thick. Using 1 1/2″ deck screws is a good idea for lasting ramps, with 3″ screws for the frame and 1″ for the surface.
Putting braces every 4 feet makes your ramp stable. If built right, ramps can last up to 5 years without problems. For outdoor ramps that save money, use compacted sand and concrete piers. Skatelite is great but expensive, and masonite is cheaper but not as tough.
It’s important but often missed, that ramps need good air flow. Drilling holes helps stop water from collecting and makes ramps last longer. Adding white glue to areas that get a lot of use also helps protect them.
When talking about the angle of ramps, like kickers, they usually are between 15-30 degrees. Portable kicker ramps are about 2-3 feet long. Launch ramps, for big air tricks, should have angles of 60 degrees or less.
Knowing these basics helps you make ramps that are safe and fun to skate on.
Factors Influencing Ramp Angle
Looking at skateboard ramp angle factors, we need to think about many things. These include the materials used, the skater’s experience, and what the ramp is for.
The shape of the ramp is key. Cubic ramps, for example, let more water go over them because their design gives more room for water to build up. Compared to linear ramps, cubic ones can handle 30% more water going over them. This makes them better but they also need to be stronger.
Wave interaction is another important factor. Keeping the ramp at a steady 19 degrees is best for handling waves. But don’t go over 35 degrees to avoid waves breaking wrong. How well the ramp deals with waves changes with the wave size and timing.
Trying out different shapes showed varying outcomes. Round shapes had a 26% higher overtopping rate than dip shapes, which saw a 25% drop. It’s important to consider how the slope’s length versus its height affects efficiency. The angle’s effectiveness is tied to the static friction between surfaces.
Recommended Ramp Angles for Different Levels
Choosing the right ramp angles is key for skateboarders to grow their skills. We explain the best angles for beginners and pro skate ramp setups.
Beginners should start with a 15° ramp angle. It makes it easier to learn because of the slow speed. It helps newbies work on balance and control. Smaller ramps are safer for learning.
Intermediate skaters will do well with ramps at 30° to 50°. These angles are not too easy or too hard. They help skaters try out harder tricks without losing stability.
For advanced skaters, a ramp angle between 45° and 85° is best. These steep ramps are great for big air and tough tricks. Skaters must be good with timing, speed, and how they position their body.
| Skill Level | Recommended Ramp Angle | Additional Features |
|---|---|---|
| Beginner | 15° | Smaller ramps, thicker plywood, sheet metal for durability |
| Intermediate | 30° to 50° | Mid-range ramps, combination of plywood and Skatelite |
| Advanced | 45° to 85° | High-quality materials, portable setups, large ramp sizes |
Setting up ramps for beginner skateboard ramp angle or professional skateboard ramp setup means choosing strong materials. Using thick plywood or steel makes ramps last longer and safer. It’s important to check ramps for damage regularly. This ensures a safe and fun skateboarding time.
Setting Up Your Skateboard Ramp
Getting started on how to set up a skate ramp means first drawing up your design. A typical ramp is about 3 feet high, 12 feet wide, and stretches 24 feet long. It’s critical, before you dive into building your own skateboard ramp, to prepare a strong base. Place 12″ x 12″ x 8″ concrete footings at each corner. Under each, lay a 3-4 inch gravel layer for extra support.
Building your ramp requires precision. You’ll need 34 pieces of 2x4s for the big parts, and 17 for the smaller ones, set 8 inches apart. Secure it all with 0.5″ galvanized bolts. Put two bolts on each side of flat areas and on all sides of the quarter pipes’ tops, bottoms, and slopes.
The top of the ramp needs 3/4″ plywood. Use two layers of 3/8″ plywood for the ramp face, then add a final layer of 1/8″ hardwood plywood. Leave a tiny gap, 1/16-1/8″, between the sheets for the wood to expand. Also, a 12-foot long steel coping, made from 2″ OD Schedule 40 black steel pipe, is used for the edges. Secure it by drilling holes every 2 feet.
As you finish your DIY skateboard ramp construction, cover it with exterior latex house paint to shield the plywood. Checking if the paint can withstand the weather might take weeks. Use heavy-duty outdoor decking screws to hold everything in place; 3 inches for the frame, and 1.75 to 2 inches for sheeting.
| Component | Specifications |
|---|---|
| Ramp Height | 3 feet |
| Ramp Width | 12 feet |
| Concrete Footings | 12″ x 12″ x 8″ |
| Gravel Layer | 3-4 inches thick |
| Number of 2x4s | 34 (wide sections), 17 (shorter sections) |
| Spacing of 2x4s | 8 inches apart |
| Steel Coping | 12 feet long |
Don’t forget to ask for help from friends when lifting heavy stuff. And remember, patience is key. With careful planning and strong materials, your skate ramp will last long. It’s a great way to invest in both your love for skateboarding and your safety.
Testing Your Ramp Angle
After building your skateboard ramp, it’s crucial to test it. This ensures it meets your standards for performance and safety. Let’s look at how to test and adjust the ramp’s angle for an optimal experience.
Begin testing by focusing on the ramp’s angle. Verify that its transition radius and height match the standards. For example, a 6 feet 10 inches transition radius and 5.5 inches off the ground works well for a halfpipe. These measurements offer a good starting point for any necessary tweaks.
Also, examine the ramp’s materials. Use 3/4 inch thick, pressure-treated plywood for durability. All pieces, especially for quarterpipes or funboxes, should perfectly fit within these dimensions.
Overbuild your ramp frame, similar to what Keen Ramps recommends. Using schedule 40 steel for coping keeps ramps stable and long-lasting. Spend many hours testing like they do to find any weak spots.
- Test different ramp sections by riding over them to pinpoint adjustments.
- Feel the surface for resistance or unusual smoothness.
- Use Schützenberger’s precise tools for angle checks without needing extra tools.
Keep your ramp’s performance high with regular tweaks. BITURBO’s mitre saw is great for precise adjustments, making testing easier.
Use the table below to record your testing outcomes:
| Ramp Feature | Initial Test (Date) | Adjustments Made | Next Test (Date) |
|---|---|---|---|
| Transition Radius | Measurement: 6 feet 10 inches | N/A | 30 days after initial test |
| Height from Ground | 5.5 inches | None | 45 days after initial test |
| Material Sturdiness | 3/4 inch thick plywood | Reinforce with additional brackets | 30 days after adjustment |
By carefully following these test steps for your ramp, you ensure fun and safe skating. Consistent testing and adjusting helps your ramp last longer and stay in good shape.
Common Mistakes to Avoid
Transition skating is really popular. But, many skaters make mistakes that slow their progress and can hurt them. It’s important to know about common mistakes with ramp setup to avoid them. Make sure your ramp is sturdy. Use recommended materials like 3/8″ X 4′ X 8′ plywood and 8′ 2×4’s. If you don’t use proven building techniques, like the cut-out method for support, the ramp won’t be stable.
Many skateboarders don’t pump correctly, which is key for keeping speed. A common issue is leaning back too much when moving from one part of the ramp to another. This can make you lose control and fall. So, practicing on smaller ramps first helps you get better.
Checking your ramp often is crucial, yet many skaters skip it. A good, regular check can stop accidents and make sure your ramp is the best it can be. Sadly, around 40% of skaters forget to do this important step.
- Use proper materials: 3/8″ X 4′ X 8′ plywood, 8′ 2×4’s
- Follow ideal bracing methods like the cut-out method
- Avoid leaning back too much in transitions
- Practice on smaller ramps first
- Inspect and maintain ramps regularly
All beginner skateboarders fall at some point. This is why wearing safety gear like helmets and pads is a must. Being careful with your speed on ramps and bowls is also key to avoid getting hurt. Keeping your feet apart can make you 50% more stable.
Lastly, always use the right materials and methods for your ramp. For easier shaping, soak plywood for about 1 hour at low pressure before bending it for transitions.
| Task | Tip |
|---|---|
| Material Selection | Use 3/8″ X 4′ X 8′ plywood and 8′ 2×4’s for framework |
| Bracing | Select the cut-out method for strong bracing |
| Pumping Technique | Practice steady rhythm and efficient pumping |
| Transition Practice | Start on smaller ramps before advancing |
| Safety Gear | Always wear helmets, knee pads, elbow pads, and wrist guards |
| Ramp Inspection | Regularly check for cracks and maintain the ramp |
Conclusion: Finding Your Perfect Angle
When you’re finalizing your ramp angle, use our guide for insights. The key to a great skateboard setup is knowing the technical aspects. This includes changes from concrete to wooden ramps and new material advancements.
Ramps at places like Ramp Ranch in Atlanta changed design in the 1980s. Knowing materials like Skate-Lite versus Gator Skins is crucial. Also, choosing between Russian and Chinese birch affects your ramp’s performance. Steel ramps are great for harsh weather and are cost-effective.
Avoid mistakes when setting up your ramp for a better skateboarding experience. Know why fiberglass is risky and the importance of vert ramp sizes and wheel durometers. These tips will refine your ramp and keep you smoothly skating.
Finding the perfect angle means testing, knowing your materials, and personal adjustments. With the right setup, you’re ready to nail those tricks and enjoy skating to its fullest.

I’m John Peterson, a passionate skater, blogger, and lifelong enthusiast. I’ve been skating for over 9 years and have gone on to write a blog dedicated to the sport of skating and its culture. Through my blog, I strive to share my knowledge and experience of the sport with all who are interested. From beginner tips, tricks, and equipment reviews to interviews and event coverage, I cover it all. So read my blog as I explore the wonderful world of skating!